- Install SureFeedback & Addons
- Update SureFeedback
- Main Site Or Dedicated Installation?
- Caching & SureFeedback
- Dashboard Shortcode
- Project Shortcode (Below 3.1.x)
- Project Shortcode
- Hosting
- Cloudways Compatibility
- Activate SureFeedback License
- Subscribed Projects Shortcode (Below 3.1.x)
- Customization Settings
- Emails
- Permissions Cheatsheet
- Slack Integration
- Export Comments in PDF / CSV
- Known Issues
- Increasing WordPress Memory Limit
- WPEngine Cache Exclusion
- Litespeed Caching
- Emails Not Sending
- Flywheel Compatibility
- Debugging
- Varnish Caching
- Gridpane Compatibility
- Chrome Incognito: Session Expired Notice
- Breeze Compatibility
- W3 Total Cache Compatibility
- Website Comments Not working
- Swift Performance Caching
- Flywheel Cache Exclusion
- WPRocket Compatiblity
- Manage Licenses
- Generate Invoice
- Download Failed: Unauthorized
- Translate SureFeedback
- Client & Colleague Accounts
- Provide Project Access
- SureFeedback On External Site
- WPML For Multilingual Sites
- Automating SureFeedback Workflows With OttoKit
SureFeedback Customization Settings
SureFeedback comes with a variety of customizable features that allow you to change the look of the projects to match your brand.
We’ll see how each of them works in this article.
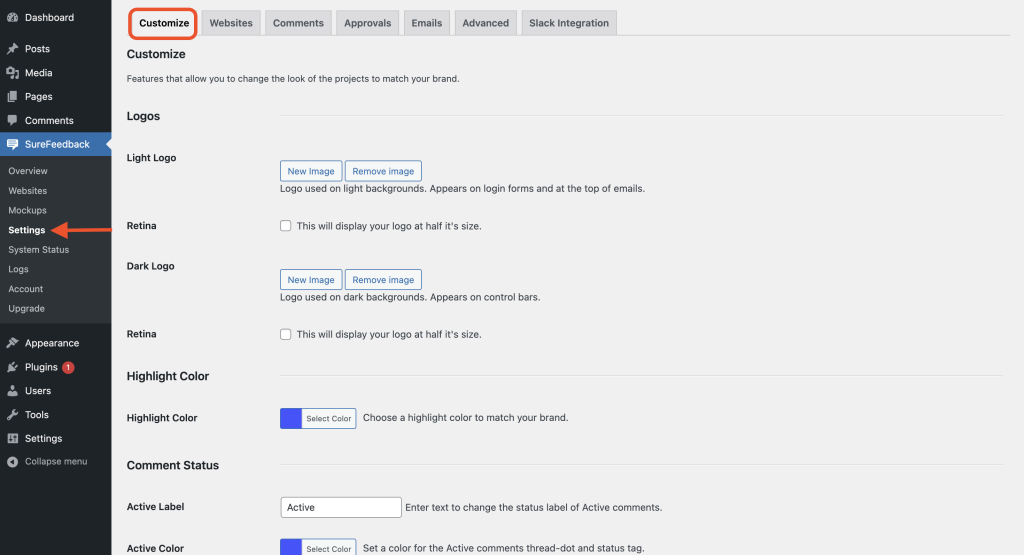
Customize
Under Settings > Customize, you can add your company logo, which will appear on login forms and at the top of emails.
After you add a logo, emails and login forms will now carry your brand image.
You can also select a highlight color, which appears throughout the app and client experience.
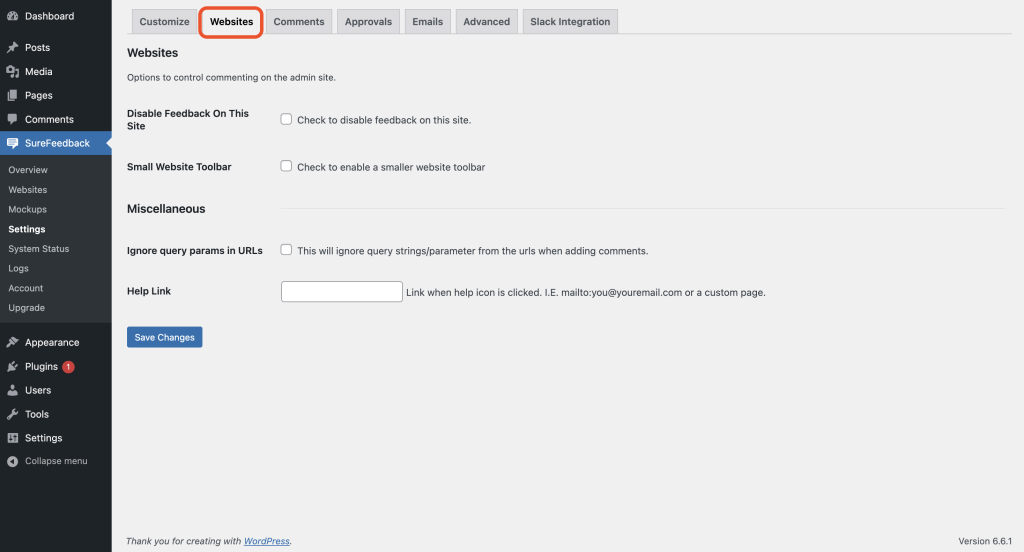
Websites
Under Settings > Websites, you can add your company logo to live website projects – which appear in the pop-out comments panel.
You can also add a custom help contact link for your clients, which will route them to a specific email or page when the frontend help link is clicked.
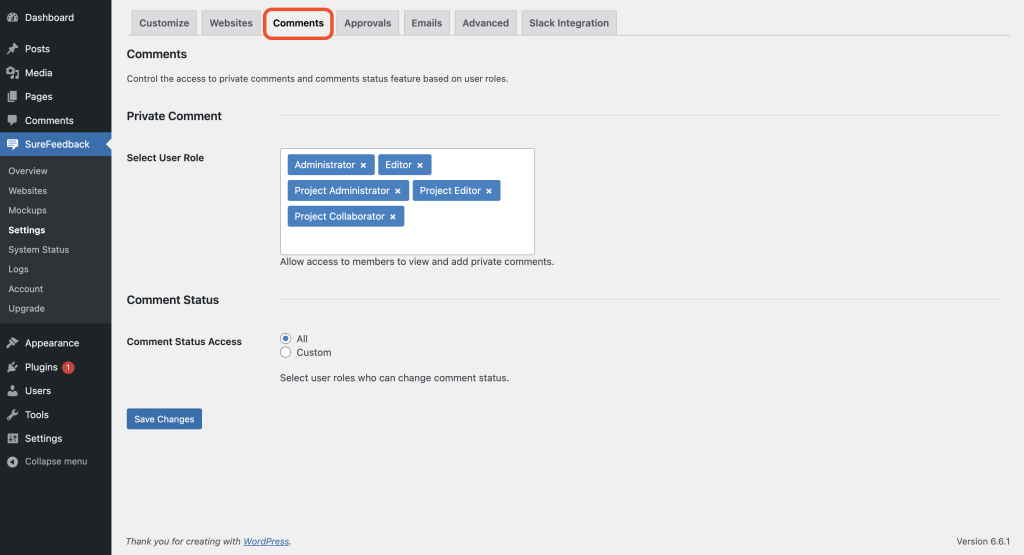
Comments
The Comments tab basically allows providing Private Comments Access to members to view and add private comments.
You can find them under Settings > Comments.
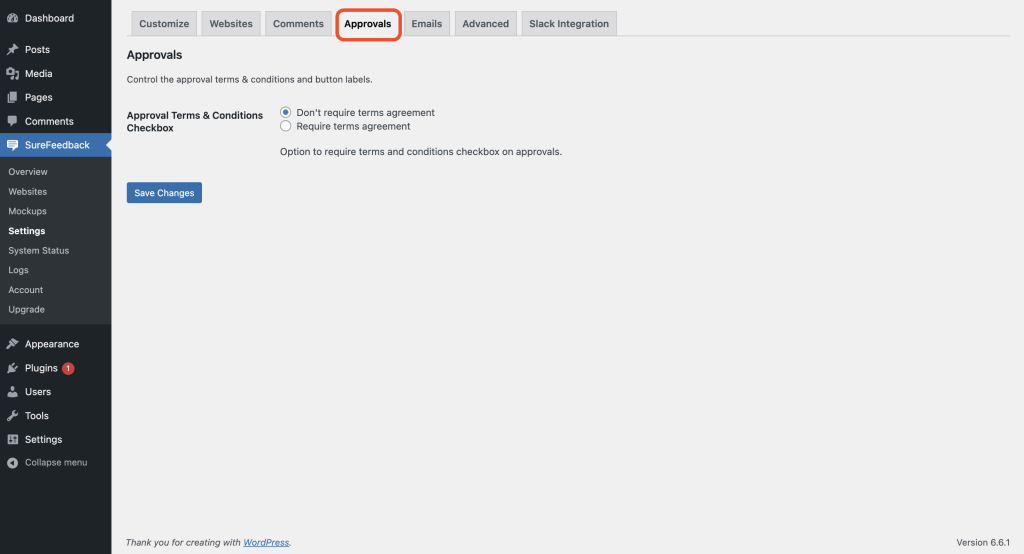
Approvals
Under Settings > Approvals, you can choose if you want to make the terms and agreement mandatory on the approvals.
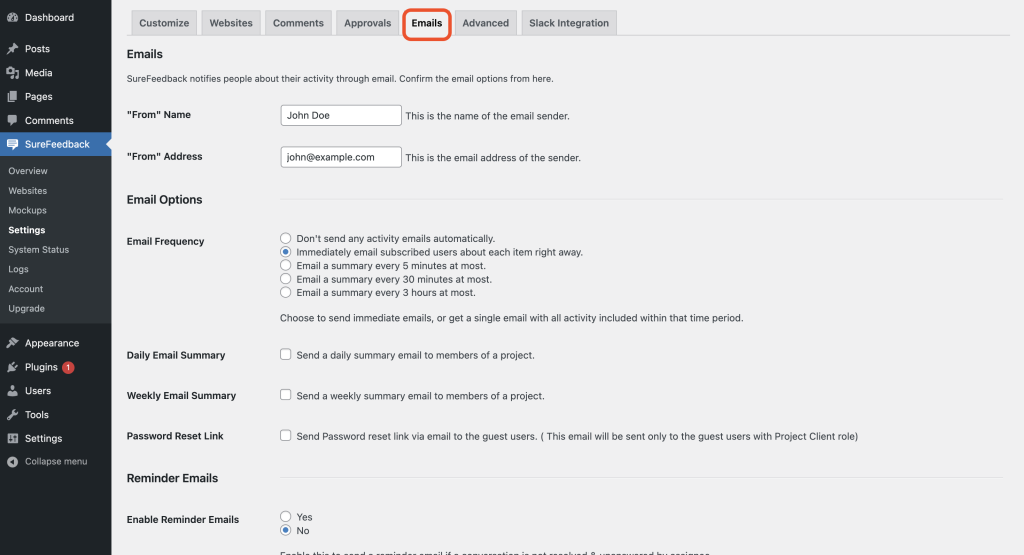
Emails
Under Settings > Emails, you can adjust the email sender options like the name and email of whom the emails are received.
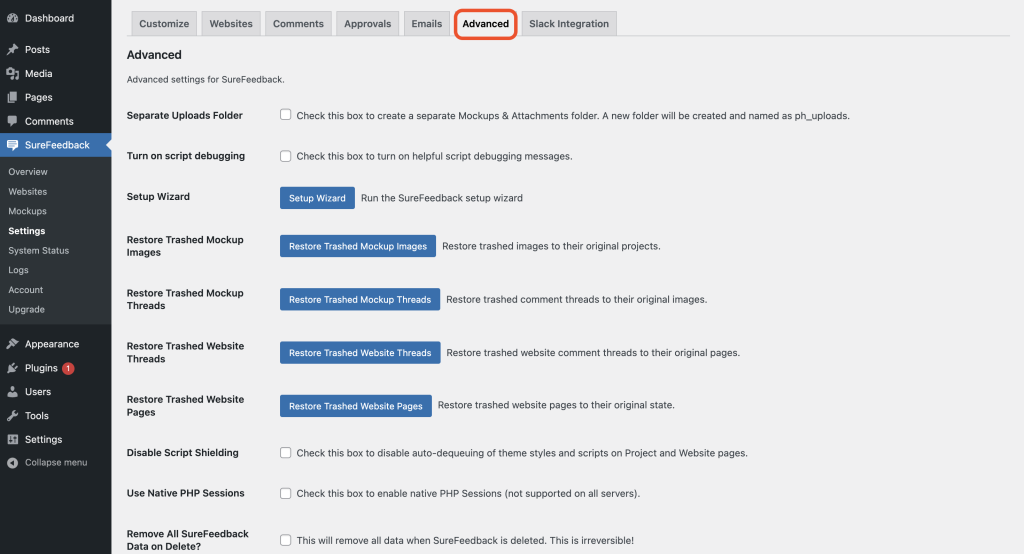
Advanced
The Advanced tab provides a wide range of options from enabling the Send Error Reports, Turn on script debugging, Setup Wizard, restore options, etc.
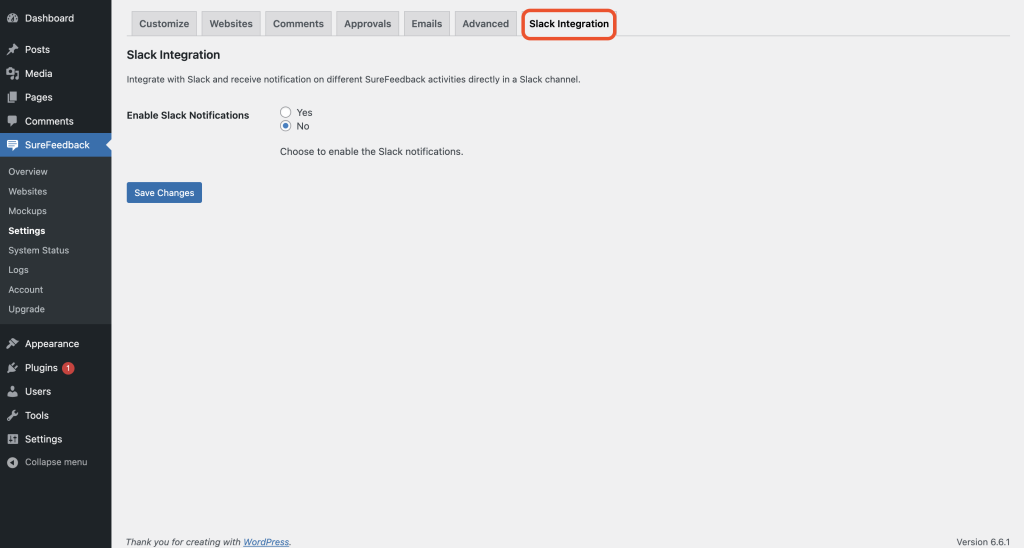
Slack Integration
The Slack Integration tab provides the option to manage your Slack Integration and settings.
That’s all! If you have any further questions, please feel free to reach out. We’re here to help!
We don't respond to the article feedback, we use it to improve our support content.