Viewing a Project
To view your project simply click View Project, found below the title. You can also view a project beginning at a specific image by hovering over the image clicking View Image.
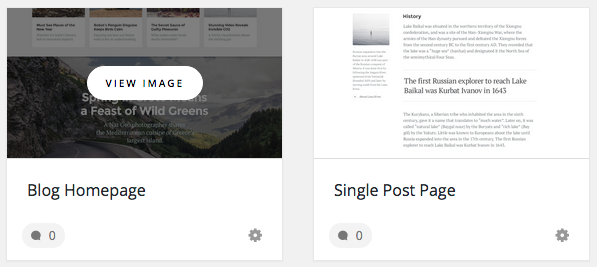
Navigating Through Images
You can skip through your project images by clicking Previous and Next in the top control bar from the front end of your project.

Image Tray
In addition, you can also click the grid icon in the top bar and the image tray will dropdown. The image tray allows you to view and scroll through the project images as thumbnails. Hovering over the images in the tray will show how many comments have been made, when the image was added, and whether or not it’s been approved. To hide the tray simply click X or hover off the image tray area.

Commenting
See the sections below to learn how to comment on images. Please note that several of the commenting functions will depend on the users role within your WordPress site. To change the role of a user navigate to Users from your WordPress options panel.
Adding Comments
Adding a comment to an image is easy. Simply click on the image where you want your comment to appear. Enter your comment and click Add Comment to submit. Anyone who has commented on the project image or within the comment thread will receive a new email with a link to the new comment that has been made.
Depending on your Project Options the user may need to sign up in order to leave a comment. If you do not require sign up then the user will at the very least need to provide an email and name in order to add a comment. Tip: You can also submit a comment by pressing Shift + Enter on your keyboard.Note: Admin users will also receive emails regarding approved projects. To adjust these settings visit SureFeedback > Settings > Emails.
Editing Comments
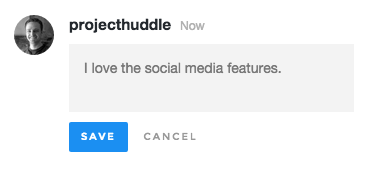
If you wish to edit your comment, hover again over the text and a small pencil icon will appear. Click the pencil icon and you will be able to edit your comment and then click Save.
Deleting Comments and Comment Threads
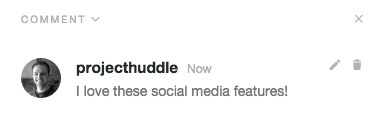
If you wish to delete your comment, hover over the text and a small trash can icon will appear on right, click the icon to delete. Note: Only administrative users can delete comments that others have made as well as their own.
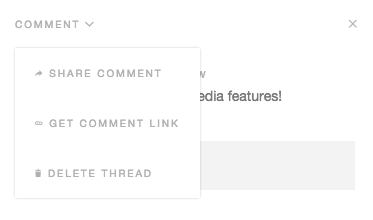
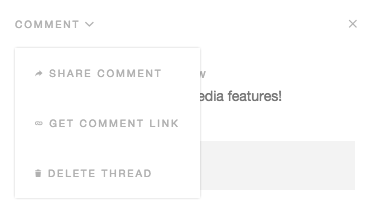
Only administrative users can delete the entire comment thread. To delete a comment thread click the dropdown link called Comment in top left corner of the comment box. Select Delete Thread to remove the entire comment thread from the image. Note: Comment threads can be restored by navigating to Settings > Advanced.
Moving Comments
Administrative users can move the location of a comment by hovering over the circled number. A four pointed arrow cursor will appear, click and drag the comment to it’s new location.
Sharing a Comment
You can share a comment with someone via email. Simply click Comment in the top left corner of the comment box. Select Share Comment and an email invitation form will pop up. Fill out the form accordingly and send. You can also Get Comment Link, which copies the comment link and you can share it however you’d like.
Note: Depending on your project privacy settings and the whether the user is signed up, they may not be able to see the comment without logging in.
Sharing a Project
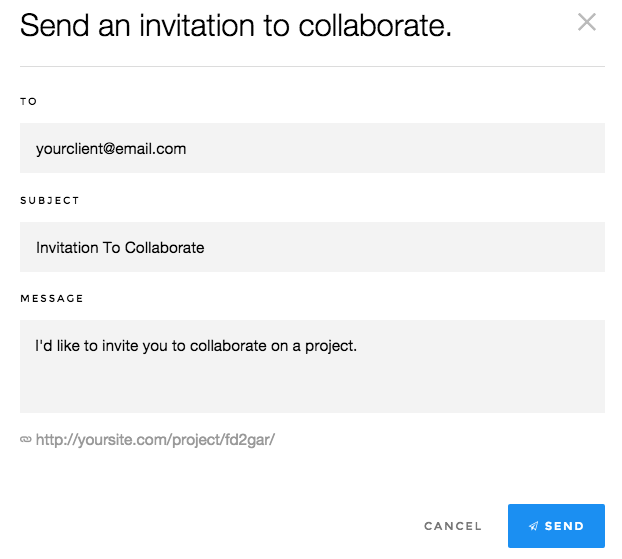
You can share an entire project with someone via email. Simply hover over the gear icon in the top right of the control bar. Click Share Project and an email invitation form will pop up. Fill out the form accordingly and send.
Note: Depending on your project privacy settings and the whether the user is signed up, they may not be able to see the project without logging in. Visit the Edit Project page and scroll down to Options to set your projects accessibility.
Editing a Project
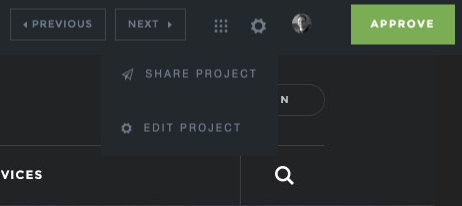
If you see a change you’d like to make from the front end of your project you can easily navigate back to the edit project page. Simply click the gear icon located in the top left of the control bar and select Edit Project.
Approving a Project
Anyone can approve a project image if you’ve ticked Approval under the Options section of the edit project page. If you do not have that option ticked then only users have the ability approve project images. To approve a project image simply click Approve in the top left control bar for that image. To unapprove that image simply click Unapprove.


Note: Admin users will receive emails regarding approved projects. To adjust these settings visit SureFeedback > Settings > Emails.
We don't respond to the article feedback, we use it to improve our support content.