Automatic site connection
This guide explains what to do inside WordPress when adding a site through the SureFeedback dashboard does not complete successfully.
When the Integration Fails
If you attempt to add a site through Add New Site in the SureFeedback dashboard and the integration cannot complete, you will see a short message instructing you to download a plugin. Follow the steps below to finish the connection through your WordPress site.
1. Download the Required Plugin
A link will appear beneath the integration message.
- Download the plugin file provided there.
- Save the file to your computer.
2. Install the Plugin in WordPress
- Sign in to your WordPress admin area for the site you are trying to connect.
- Go to Plugins and open Add New.
- Select Upload Plugin.
- Choose the file you downloaded.
- Install and activate it.
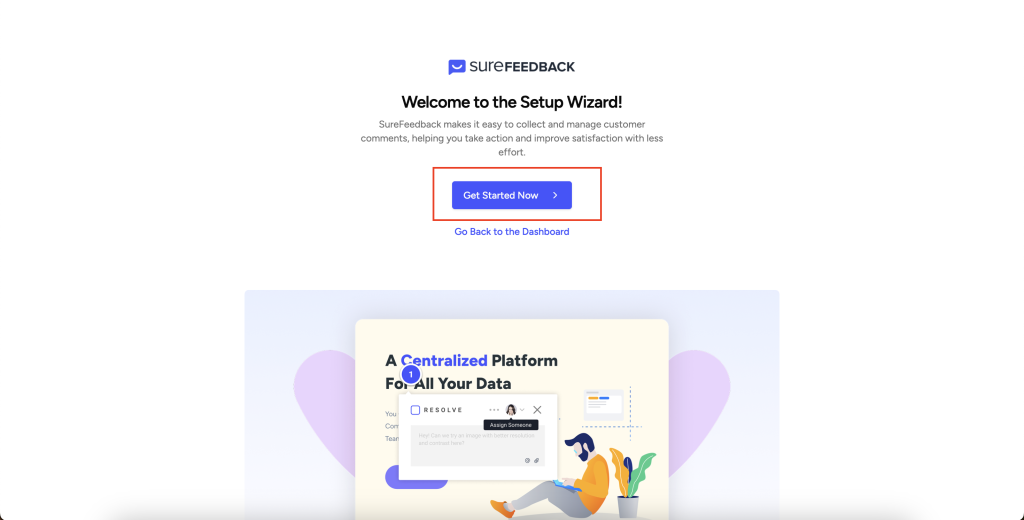
- After activating a plugin, a set up wizard will appear
4. Use the Setup Wizard
- Choose Get Started.
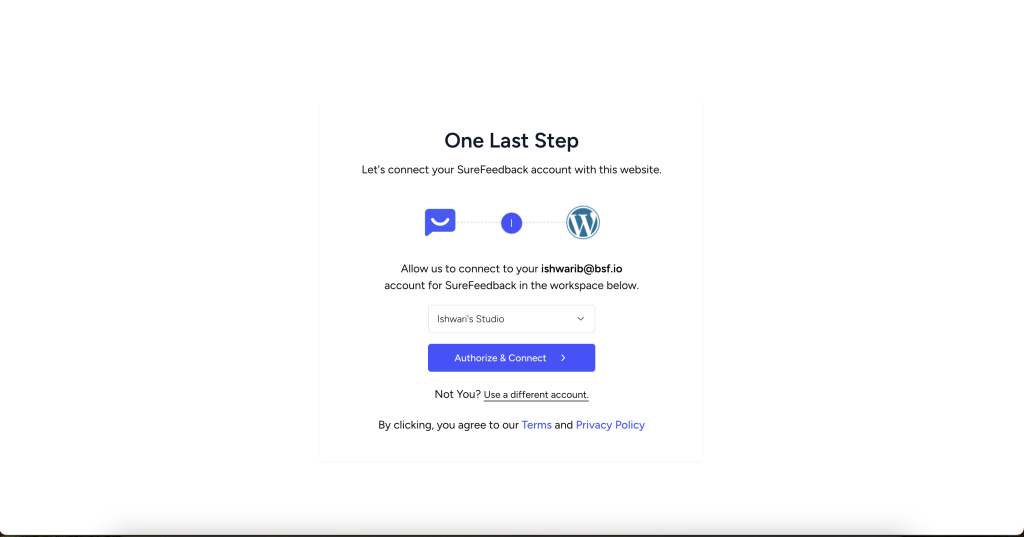
- You will have to login into into your SureFeedback SaaS, if you dont have a account, please select the option of sign up using free
- Continue through the prompts.

5. Assign the Site to a Workspace
After starting the wizard, a screen will appear that lets you choose a workspace.
- Select the workspace you want this site to belong to.
- Confirm your selection.

6. Connection Complete
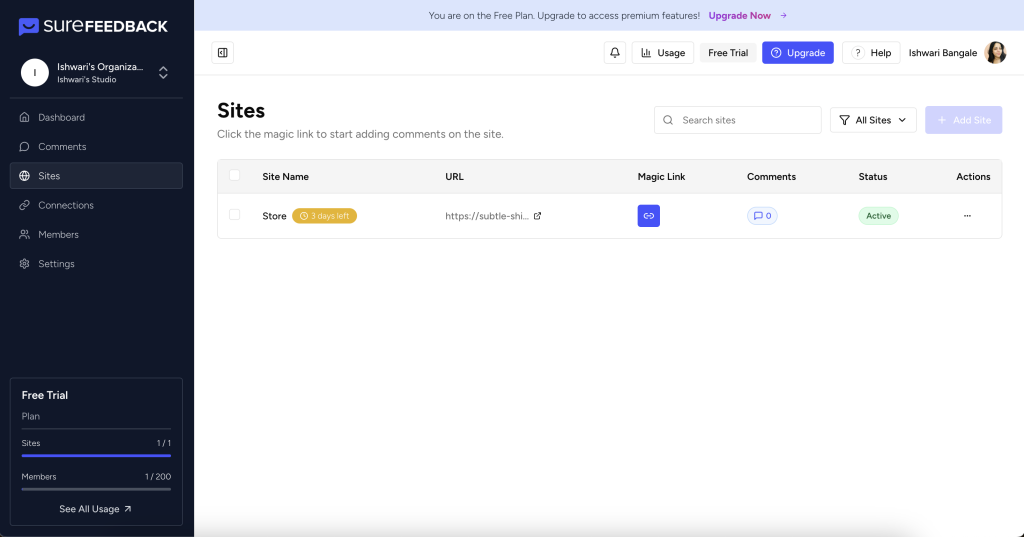
After confirming the workspace, the site is linked to your SureFeedback account. It will now show up in your SureFeedback dashboard and can be managed normally. Please access the site through magic link to start adding comments

We don't respond to the article feedback, we use it to improve our support content.